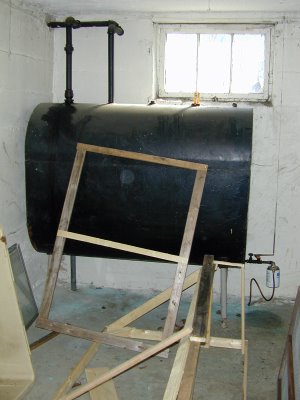
My system is, think a little, build a little think a little, build a little... and then brace it if it's too wobbly. I usually don't know enough to envision the whole thing at once. I welcome any advice anyone has to offer. This POST shows where the cold frame will go. It is going to be a lean-to against the house so that I can crack open that cellar window you see if the temperature dips down too cold some nights. The cellar room that it opens into only has an oil tank and a freezer so if it gets a little chilly in there some nights, it won't be a problem. The oil tank might actually be a good heat store. Here's the frame. The right side will go up against the house. On the sloping left side there will be two tilted windows side by side. I decided on two because I was concerned that the automatic opener would not be able to open one large window. The whole thing you see will sit on a rectangular frame of 2x6s.
 In this next picture, leaning up against the oil tank is the first of the two window frames. Above the oil tank is the same window that you see in the outside view of the coldframe location in the link above.
The next task will be to 'glaze' the windows. The glazing material will be 4 mil plastic. I plan on having 2 layers one on each side of the frame. I've started this and will show an update tomorrow. It seems like nailing or stapling the plastic directly to the wood might cause it to tear easily. I'm experimenting with a few solutions to this, but would really welcome any advice anyone has on any of this. Please!
Way to go Urban Agrarian. This is the way I like to build projects to. Start with an idea, construct the first parts and patch it as you go. Seems to work as long as you're not planning to sell it.
ReplyDeleteYou've inspired me to think of building one for myself.
thanks for the step by step. I have printed it out and whenever my husband gets home going to ask him to help me build one for us.
ReplyDelete