Monday, January 29, 2007

Chicken Tractor Step 2

One of the future occupants of the new chicken tractor, a Welsummer hen

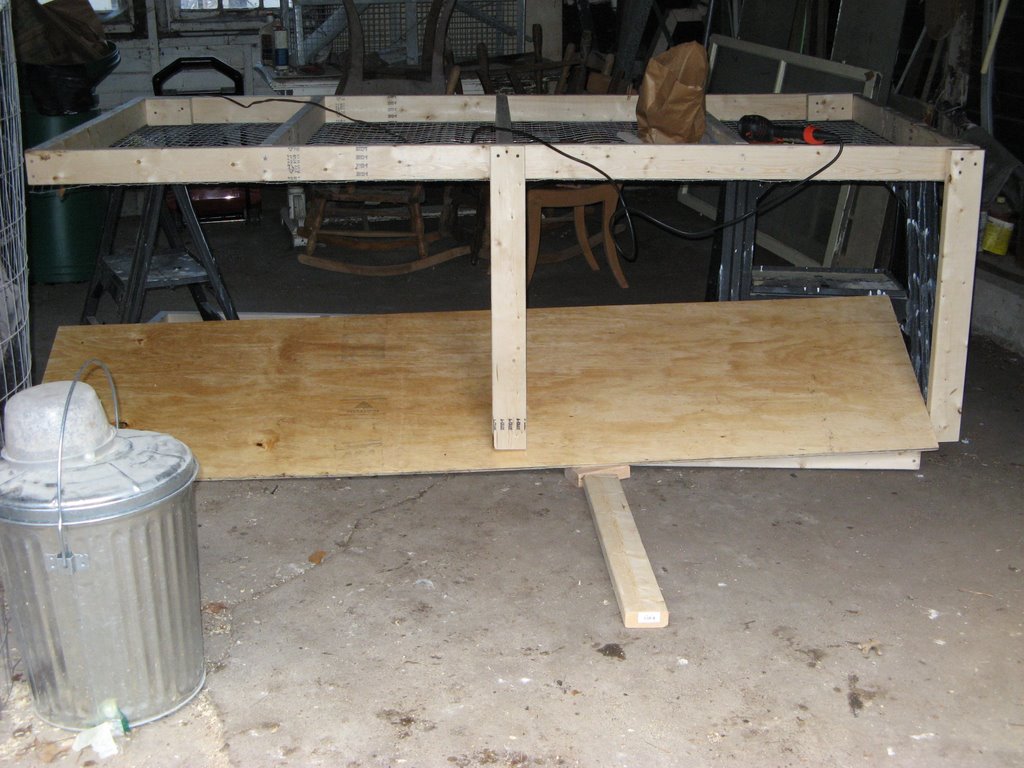
I’m continuing to build the new chicken tractor, egg mobile, mobile coop or whatever it's called I started it last week. Finally, I finally found the 1x2 inch wire for the floor. It took 7 places, but I found some at Masse Hardware in Cambridge MA. I stapled the wire onto the bottom frame. Then I screwed the plywood onto the top frame. Then because the top frame was too heavy to carry outside, I unscrewed the plywood. That’s one reason I like screws better than nails. They are easier to undo. Because any further work will make the tractor to big to carry out the cellar door, I moved the project out to the garage. It’s a little awkward for one person to maneuver, but with a couple of sawhorses and some blocks I think I may manage. I’ve screwed the upright supports to one side of the bottom. The next step will screw them to the top frame which is actually the bottom in the photos and screw on the sides. After I do this to the other side, I should be able to remove all the sawhorses and blocks and will end up the tractor frame upside down. Probably there is a much easier way to do all this, but I’ll only figure it out after the fact.


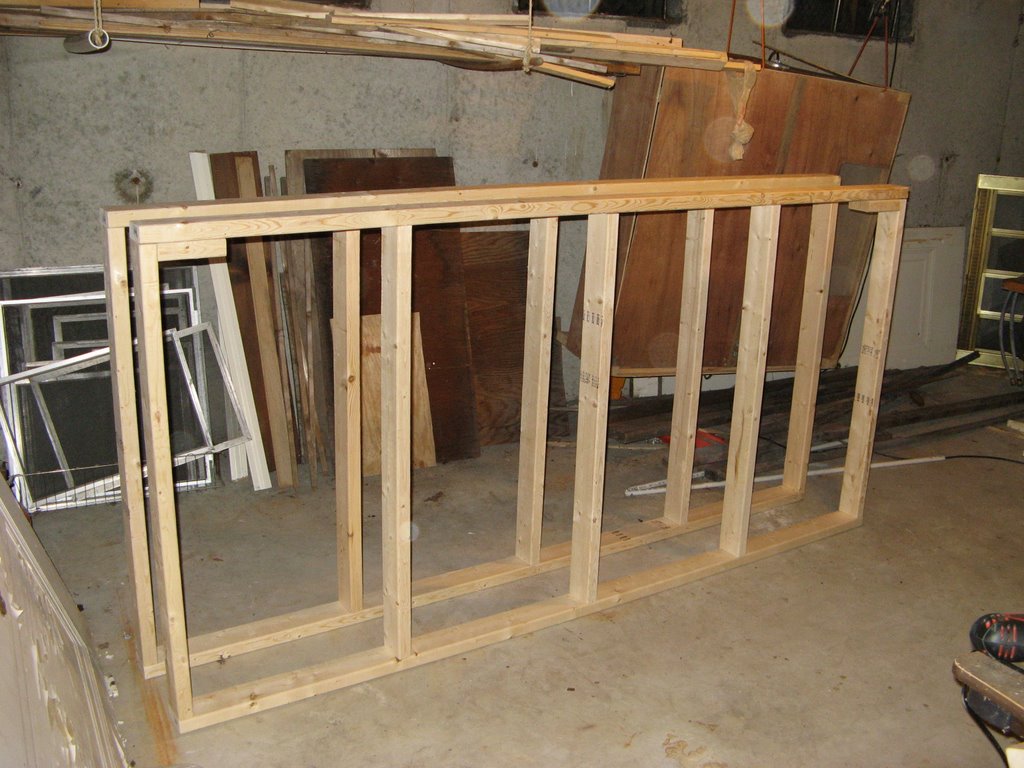
The first side. It's not screwed on yet. It's just proped up for the photo.

Sunday, January 21, 2007

New Chicken Tractor - Step 1

My 4 hens have a little coop that I built about three years ago. It was one of the first things I ever built. It's OK but when I move it into the garage during winter. I feel the need to fashion a little pen around it for snowy days when the chickens can't go outside because the coop is only 4x4. The coop is fine in the garage, but the pen just takes up too much room. I also want something that I can move myself. I've decided to build them a tractor like I read about here. It will have twice the space as my coop and I will be able to move it around by myself. I've built some chicken tractors before. The first ones I build for broilers are all scrapped now. They were just too small for broilers and were rather flimsy too. I think broilers work better in a day-range system. The next tractor was a hoop style shown first in this post I helped my friend Judy build the next year. It is a nice one, and we day ranged two batches of broilers or 175 chickens in all that year with it at her place. It's also good to use to start seeds in the spring by covering it with plastic but that design is way way too big for my tiny back yard. Then last summer I helped put some very final touches on the mobile coop in the second photo in the post. It's quite a fancy coop. The first time I saw it, I thought it that I would like to have it for a summer house for myself. I could just hook it on the back of my car, and tow it to the country. :)

So what you see in the photo, other than my messy workshop, is the top and bottom frame for the new chicken tractor. Those pieces will fit out the cellar door so I was lucky to be able to build them inside on this cold windy day. The pieces measure 4x8 and used 13 2x4s and some deck screws. I still need to go get most of the materials so sadly I probably won't get to work on it again until next weekend.

Tuesday, January 16, 2007

An Easy New Years Resolution


Among the other things that I got for Christmas, was bronchitis. My cough finally seems like it’s going away. I’ve been taking it easy and my blogging fell a little by the wayside, but hopefully I’ll be back to blogging more now.

I thought of a New Years resolution that didn’t take much effort. It’s so easy that I already did all the required “work” by the last week of the old. year. My resolution was to buy and install at least one compact fluorescent light bulb. After studying the idea I realized that if everyone did this, the impact on energy usage would be huge. We’d all also save some money.

My municipally owned electric company charges 11.38 cents per kilowatt hour. At this time of year I burn a 75 watt bulb for at least 5.5 hours each night during winter in the room I sit in during the evening. A compact fluorescent bulb that gives the same amount of light uses only 20 watts.

Old 75 watt bulb
12375 watts each 30 days = $1.41 electricity cost

New 20 watt compact fluorescent (75 watt equivalent) bulb
3300 watts each 30 days = 37.5 cents electricity cost

Savings with this one bulb in 30 days is 9075 watts and $1.03 in electricity cost. I paid .$1.04 including tax for this bulb so it will be all paid back at the end of the month.

The bulb seems just as bright and doesn’t flicker, or buzz. It may have a very slight green tone, but it really seems very very close to a regular incandescent bulb. It does NOT resemble the light from the florescent tube type light bulbs in my shop in the cellar.

I was so happy with the outcome that I bought some more bulbs for other rooms. Watch the price of the bulbs. They seem to vary wildly from store to store and even within the same store. I found a 75 watt equivalent for 99 cents in a local hardware store. In H*Depot I bought 4 100 watt equivalent for $8 a package and 4 60 watt equivalent for $4 a package but saw others for more. A friend told me some electric companies give them away for free so it may be worth checking that out.


Below is a 100 watt equivalent and a 60 watt equivalent. The size is proportional to the wattage, but I had no trouble using any size in the lamps I have.